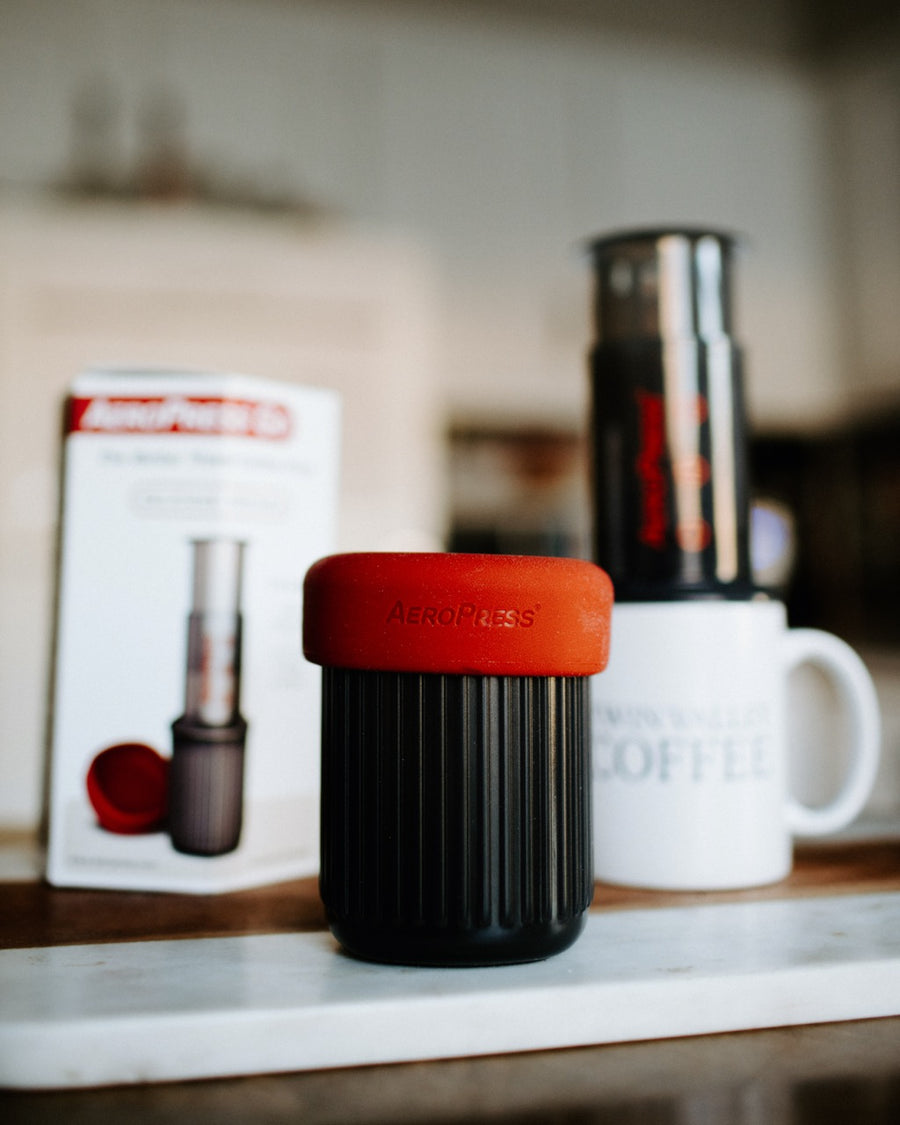
Aeropress Go
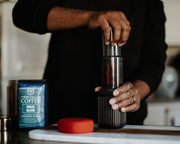
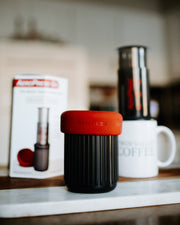
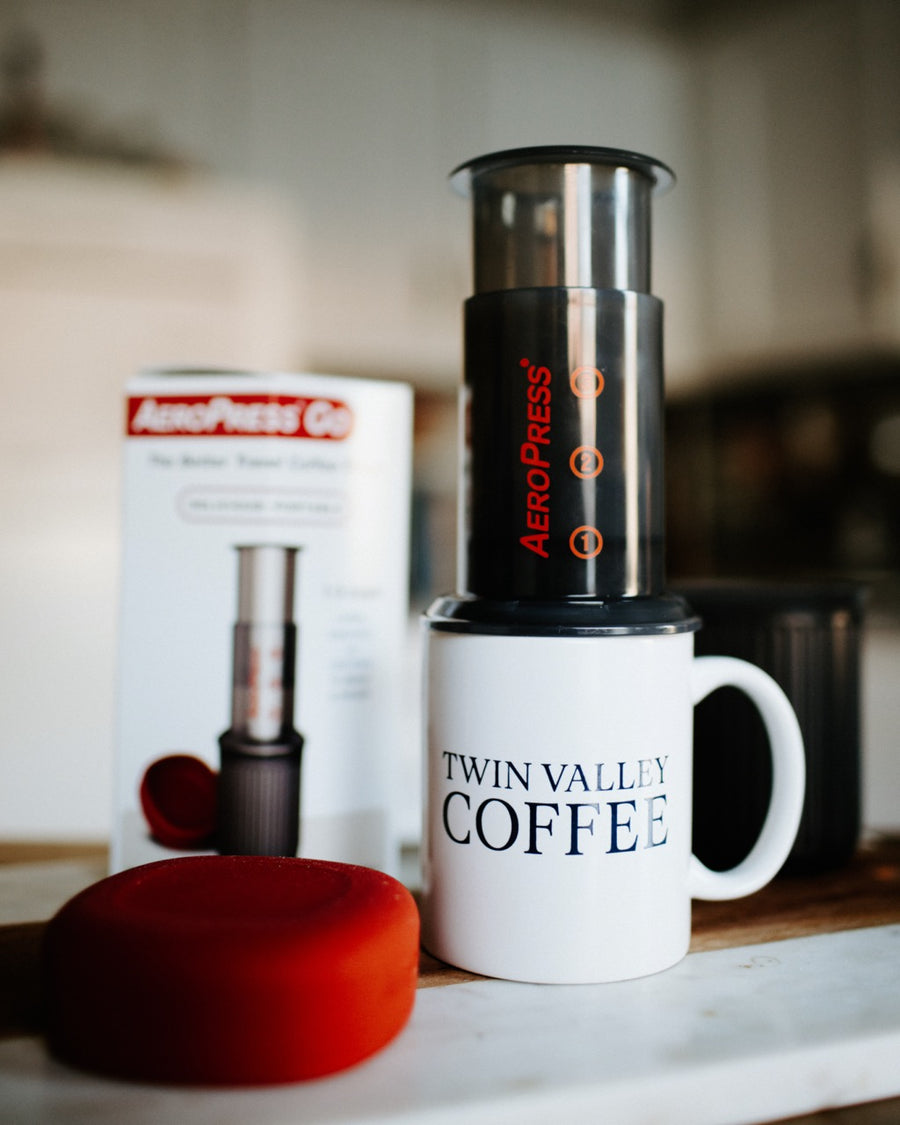
The Aeropress Go is the coffee companion you never knew you needed but can’t live without. Just add the water and the ground coffee and let it do the rest, anywhere.
Brewing Instructions
Heat water to 185F (85C) using your kettle (if you don’t have a kettle, boiling is fine).
Pull Plunger (1) to separate entirely from Chamber (2).
Put Paper Filter (6) in Filter Cap (3) and twist Filter Cap onto Chamber.
Stand Chamber on the Go Mug (7) and add a little less than a full scoop (4) or 12-14 grams of store bought, medium ground coffee.
Shake gently to level coffee. Pour water up to #3 marked on the side of the Chamber. You may hear some coffee dripping into your Go Mug. This is a normal part of the process.
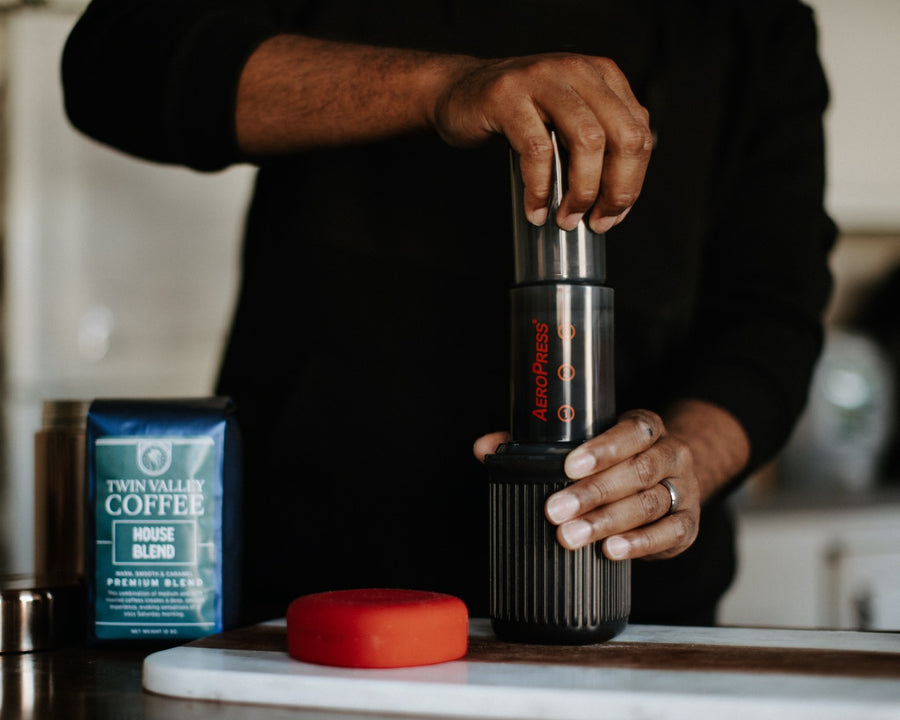
Stir gently for 3 seconds. Then insert Plunger about 1/2 inch into Chamber to create a vacuum and stop the drip through. Wait 60 seconds.
Press down on the Plunger, applying gentle constant pressure (do not push too hard). When you get close to the bottom of the Chamber you will hear a hissing sound as the air begins to push the last bit of brew through the coffee bed. The end of the hissing sound is your signal that Plunger has reached the bottom and your brew is ready.
Remove Filter Cap and place aside. Position AeroPress over sink or garbage bin and push the Plunger the rest of the way through the chamber until you hear the Pop as the coffee bed "puck" pops out.
Remove Paper Filter from Filter Cap and rinse. Hold the AeroPress under fresh water and rinse the silicone plunger end and then store the AeroPress in the AeroPress Go cup.
Prepare yourself for the uniquely smooth, rich, full-bodied flavor of an AeroPress 3 in 1 Brew.

